Chapter 3: Library Website
Django REST Framework works alongside the Django web framework to create web APIs. We cannot build a web API with only Django Rest Framework. It always must be added to a project after Django itself has been installed and configured.
In this chapter, we will review the similarities and differences between traditional Django and Django REST Framework. The most important takeaway is that Django creates websites containing webpages, while Django REST Framework creates web APIs which are a collection of URL endpoints containing available HTTP verbs that return JSON.
To illustrate these concepts, we will build out a basic Library website with traditional Django and then extend it into a web API with Django REST Framework.
Traditional Django
Navigate to the existing code directory on the Desktop and make sure you are not in a current virtual environment. You should not see (.venv) before the shell prompt. If you do, use the command deactivate to leave it. Make a new directory called library, create a new virtual environment, activate it, and install Django.
# Windows
> cd onedrive\desktop\code
> mkdir library
> cd library
> python -m venv .venv
> .venv\Scripts\Activate.ps1
(.venv) > python -m pip install django~=4.0.0

# macOS
% cd desktop/desktop/code
% mkdir library
% cd library
% python3 -m venv .venv
% source .venv/bin/activate
(.venv) % python3 -m pip install django~=4.0.0
A traditional Django website consists of a single project with multiple apps representing discrete functionality. Let’s create a new project with the startproject command called django_project. Don’t forget to include the period . at the end which installs the code in our current directory. If you do not include the period, Django will create an additional directory by default.
(.venv) > django-admin startproject django_project .
Pause for a moment to examine the default project structure Django has provided for us. You examine this visually if you like by opening the new directory with your mouse on the Desktop. The .venv directory may not be initially visible because it is “hidden” but nonetheless still there.
├── django_project
│   ├── __init__.py
|   ├── asgi.py
│   ├── settings.py
│   ├── urls.py
│   └── wsgi.py
├── manage.py
└── .venv/
The .venv directory was created with our virtual environment but Django has added a django_project directory and a manage.py file. Within django_project are five new files:
__init__.pyindicates that the files in the folder are part of a Python package. Without this file, we cannot import files from another directory which we will be doing a lot of in Django!asgi.pyallows for an optional Asynchronous Server Gateway Interface to be runsettings.pycontrols our Django project’s overall settingsurls.pytells Django which pages to build in response to a browser or URL requestwsgi.pystands for Web Server Gateway Interface which helps Django serve our eventual web pages.
The manage.py file is not part of django_project but is used to execute various Django commands such as running the local web server or creating a new app. Let’s use it now with migrate to sync the database with Django’s default settings and start up the local Django web server with runserver.
(.venv) > python manage.py migrate
(.venv) > python manage.py runserver
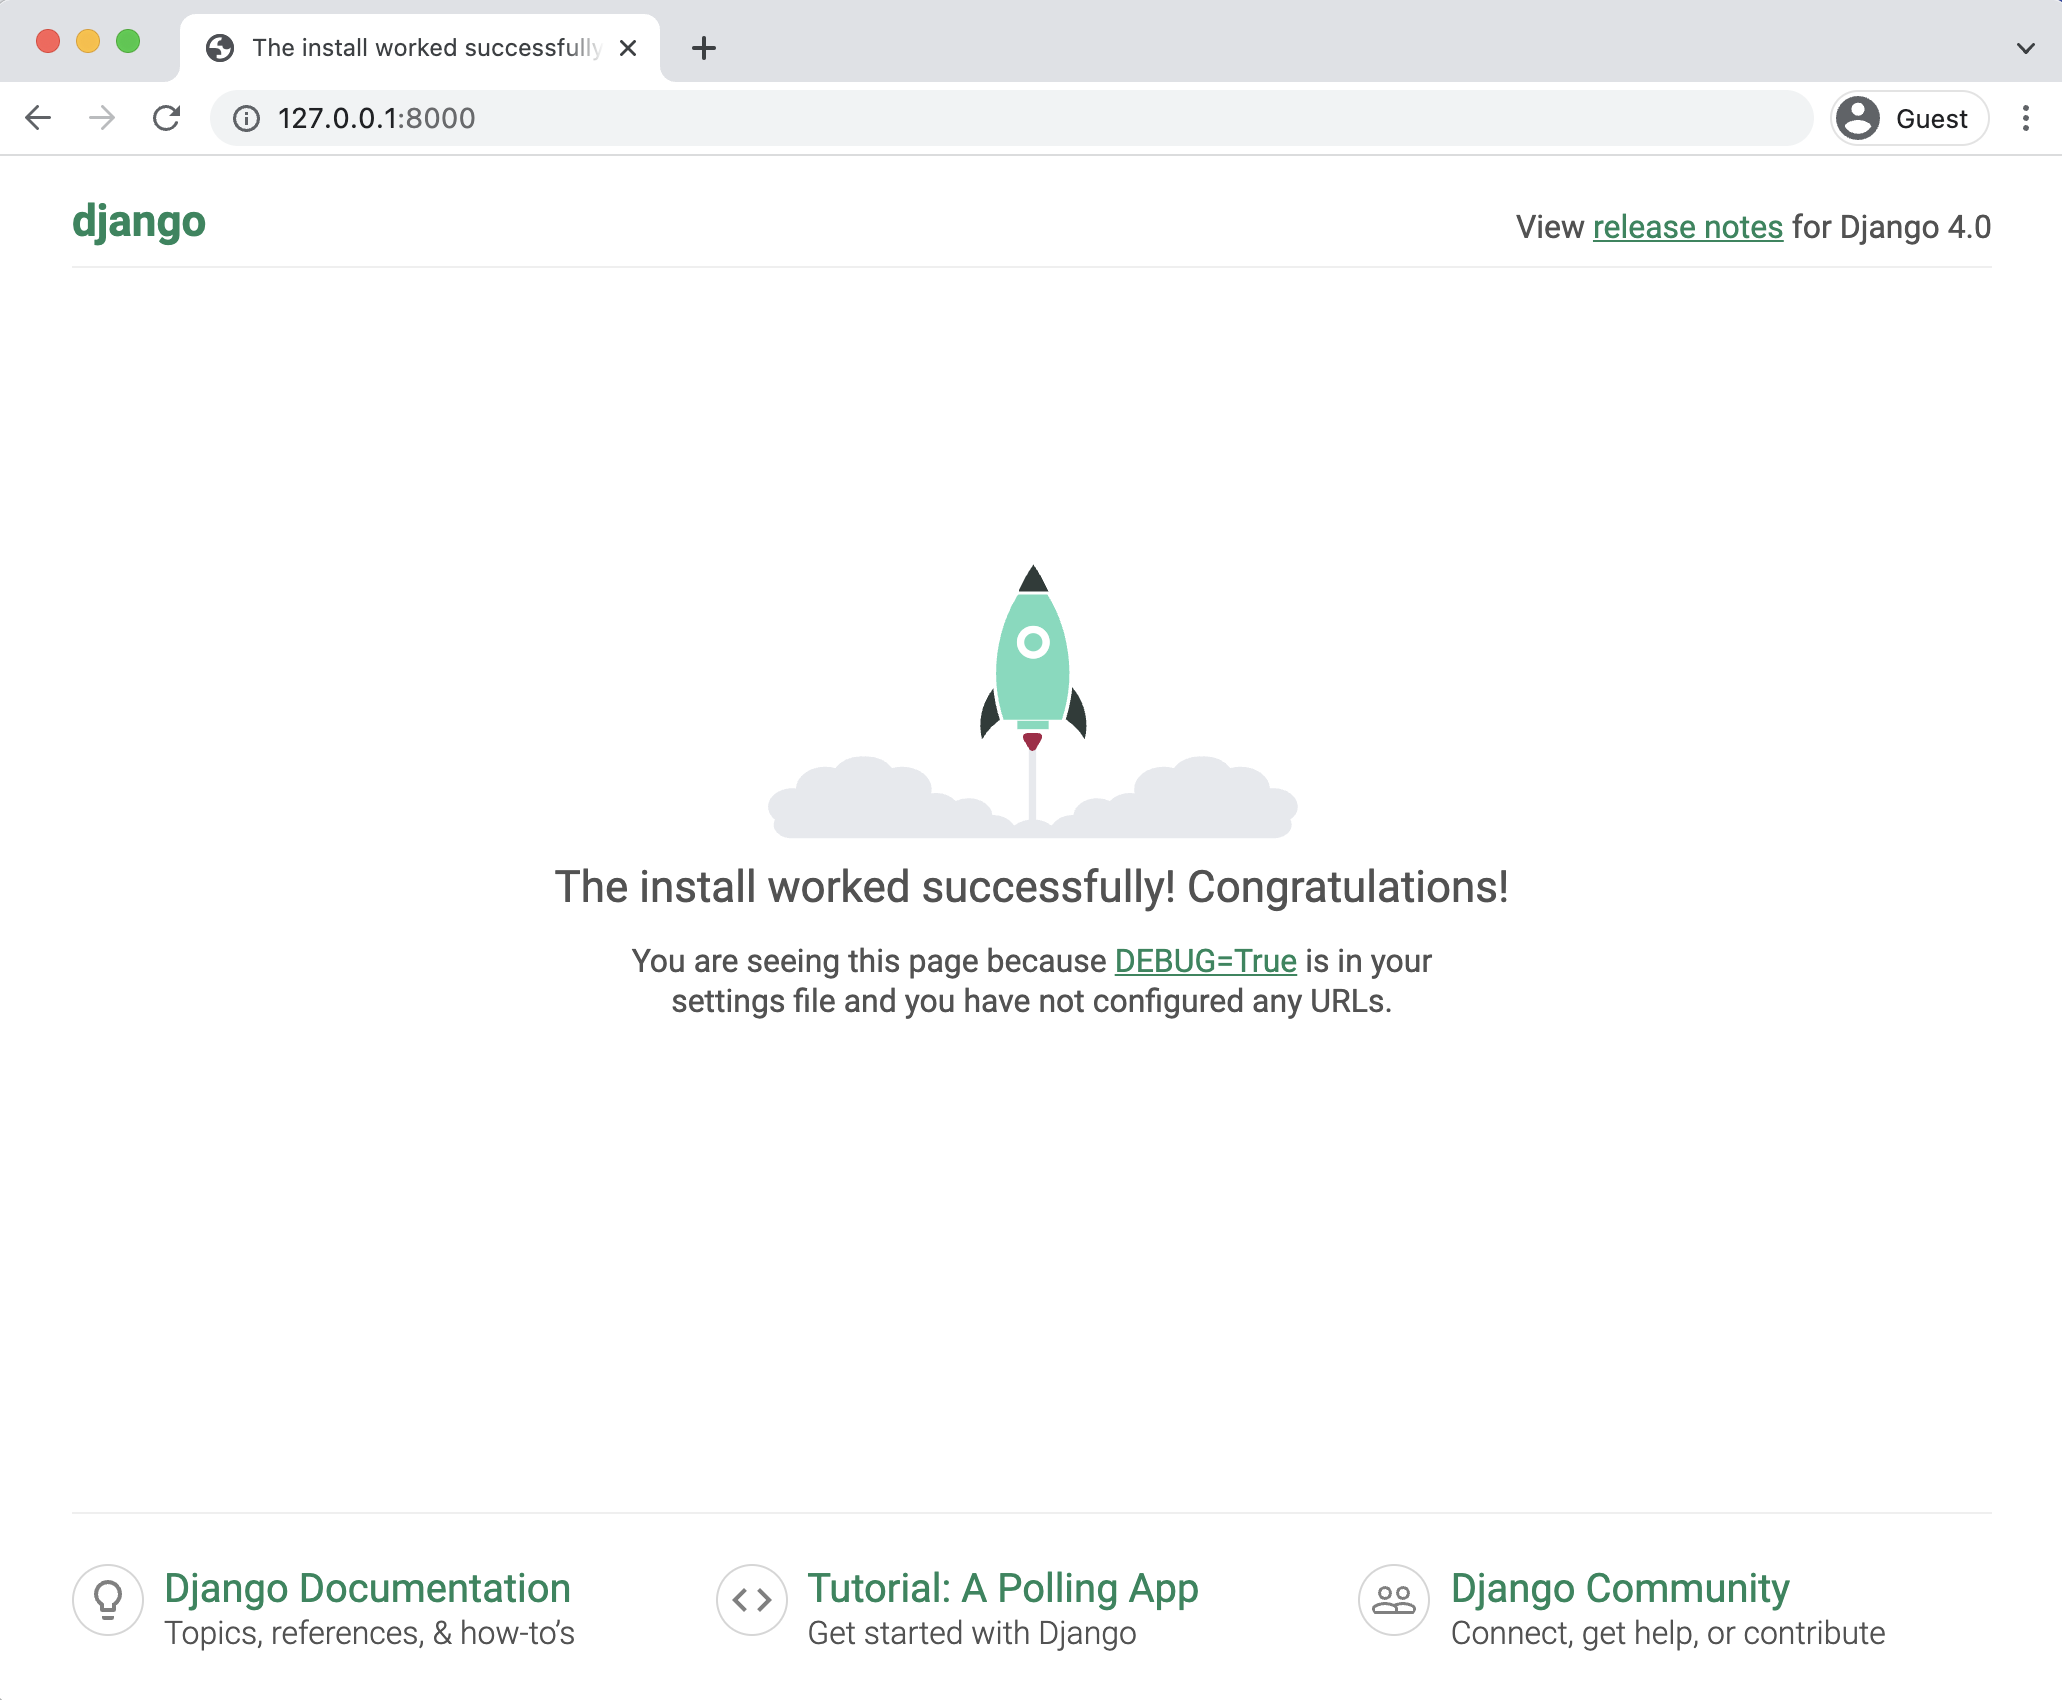
Open a web browser to http://127.0.0.1:8000/ to confirm our project is successfully installed and running.
First app
The next step is to add our first app which we’ll call books. Stop the local server by typing Control+c and then run the startapp command plus our app name to create it.
(.venv) > python manage.py startapp books
Now let’s explore the app files Django has automatically created for us.
├── books
│   ├── __init__.py
│   ├── admin.py
│   ├── apps.py
│   ├── migrations
│   │   └── __init__.py
│   ├── models.py
│   ├── tests.py
│   └── views.py
Each app has a __init__.py file identifying it as a Python package and there are 6 new files created:
admin.pyis a configuration file for the built-in Django Admin appapps.pyis a configuration file for the app itselfmigrations/is a directory that stores migrations files for database changesmodels.pyis where we define our database modelstests.pyis for our app-specific testsviews.pyis where we handle the request/response logic for our web app
Typically, developers will also create an urls.py file within each app for routing. We’ll do that shortly.
Before moving on we must add our new app to the INSTALLED_APPS configuration in the django_project/settings.py. Do so now with your text editor.
# django_project/settings.py
INSTALLED_APPS = [
    "django.contrib.admin",
    "django.contrib.auth",
    "django.contrib.contenttypes",
    "django.contrib.sessions",
    "django.contrib.messages",
    "django.contrib.staticfiles",
    # Local
    "books.apps.BooksConfig",  # new
]
Each web page in traditional Django requires several files: views.py, urls.py, template, and models.py. Let’s start with the database model to structure our Library data.
Models
In your text editor, open up the file books/models.py and update it as follows:
# books/models.py
from django.db import models


class Book(models.Model):
    title = models.CharField(max_length=250)
    subtitle = models.CharField(max_length=250)
    author = models.CharField(max_length=100)
    isbn = models.CharField(max_length=13)

    def __str__(self):
        return self.title
This is a basic Django model where models is imported from Django on the top line and a new class, called Book, extends it. There are four fields: title, subtitle, author, and isbn. We also include a __str__ method so that the title of a book will display in readable format in the admin later on. Note that an ISBN is a unique, 13-character identifier assigned to every published book.
Since we created a new database model we need to create a migration file to go along with it. Specifying the app name is optional but recommended. We could just type python manage.py makemigrations but if there were multiple apps with database changes, both would be added to the migrations file which makes debugging in the future more of a challenge. Keep your migrations files as specific as possible.
(.venv) > python manage.py makemigrations books
Migrations for 'books':
  books/migrations/0001_initial.py
    - Create model Book
Then second step after creating a migrations file is to migrate it so it is applied to the existing database.
(.venv) > python manage.py migrate
Operations to perform:
  Apply all migrations: admin, auth, books, contenttypes, sessions
Running migrations:
  Applying books.0001_initial... OK
So far so good. If any of this feels brand new to you I suggest taking a pause to review Django for Beginners for a more-detailed explanation of traditional Django projects.
Admin
We can start entering data into our new model via the built-in Django app. To use it we need to create a superuser account and update the books/admin.py file so the books app is displayed.
Start with the superuser account. On the command line run the following command:
(.venv) > python manage.py createsuperuser
Follow the prompts to enter a username, email, and password. Note that for security reasons, text will not appear on the screen while entering your password.
Now update our books app’s admin.py file.
# books/admin.py
from django.contrib import admin

from .models import Book

admin.site.register(Book)
That’s all we need! Start up the local server again.
(.venv) > python manage.py runserver
Navigate to http://127.0.0.1:8000/admin and log in. This brings up the admin homepage.
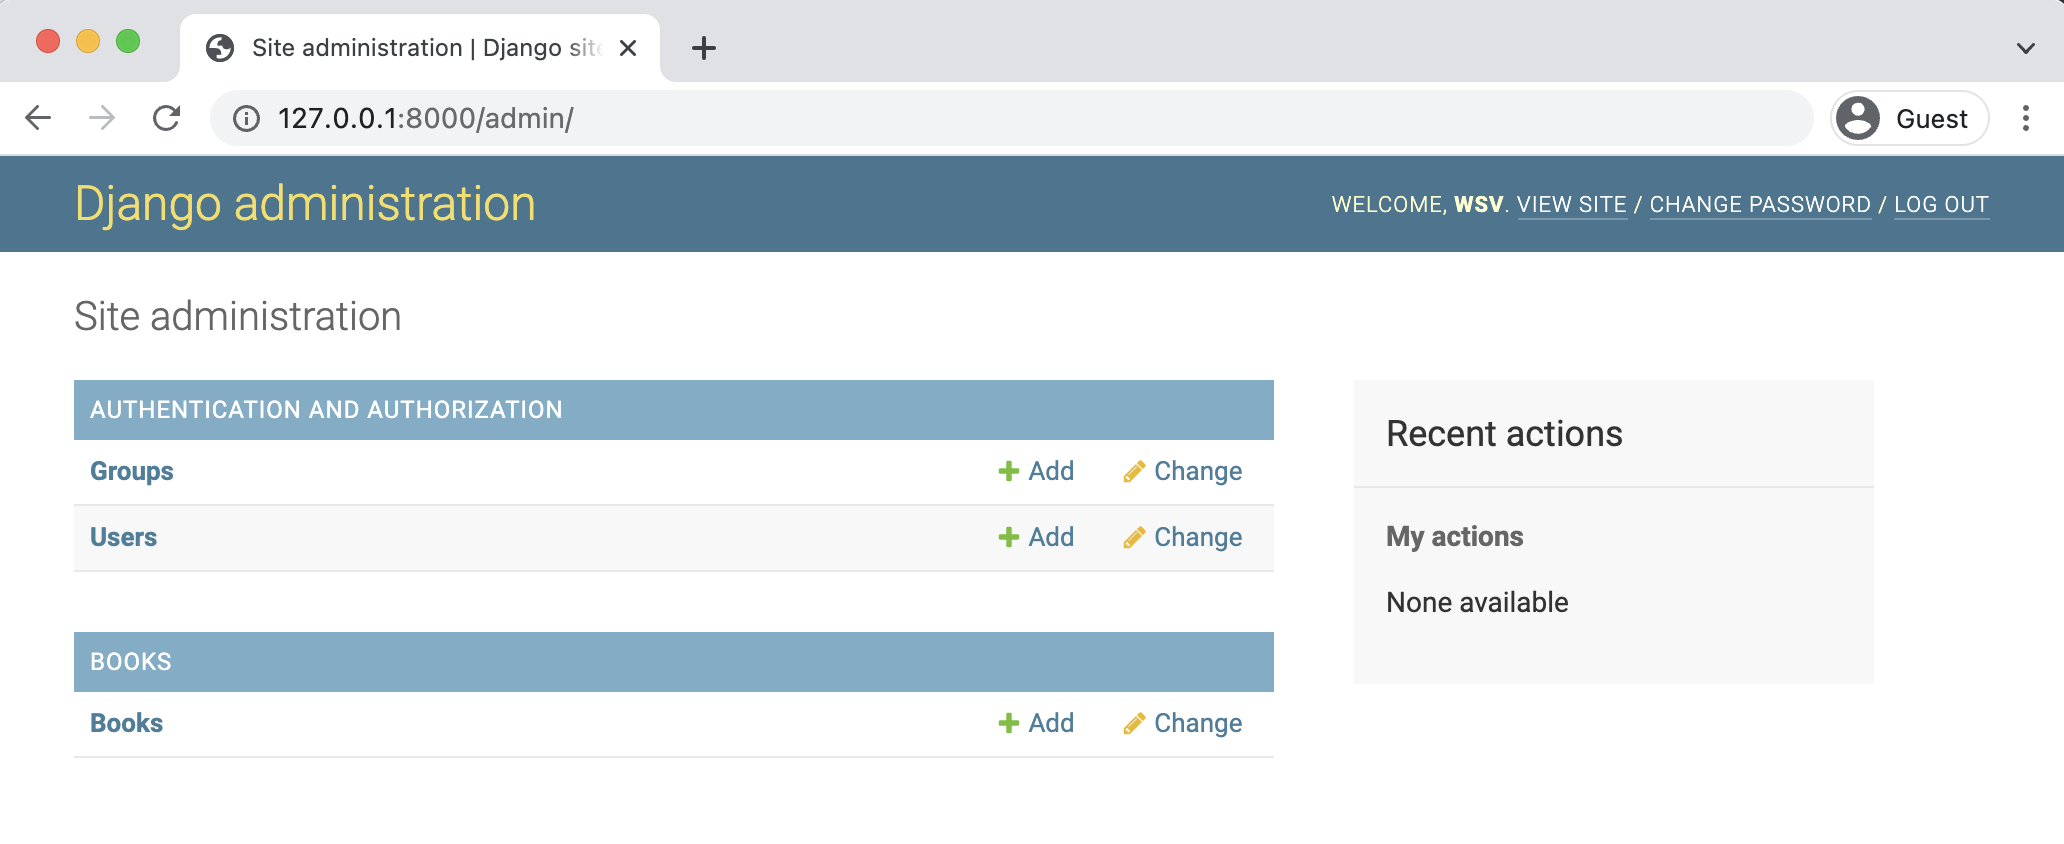
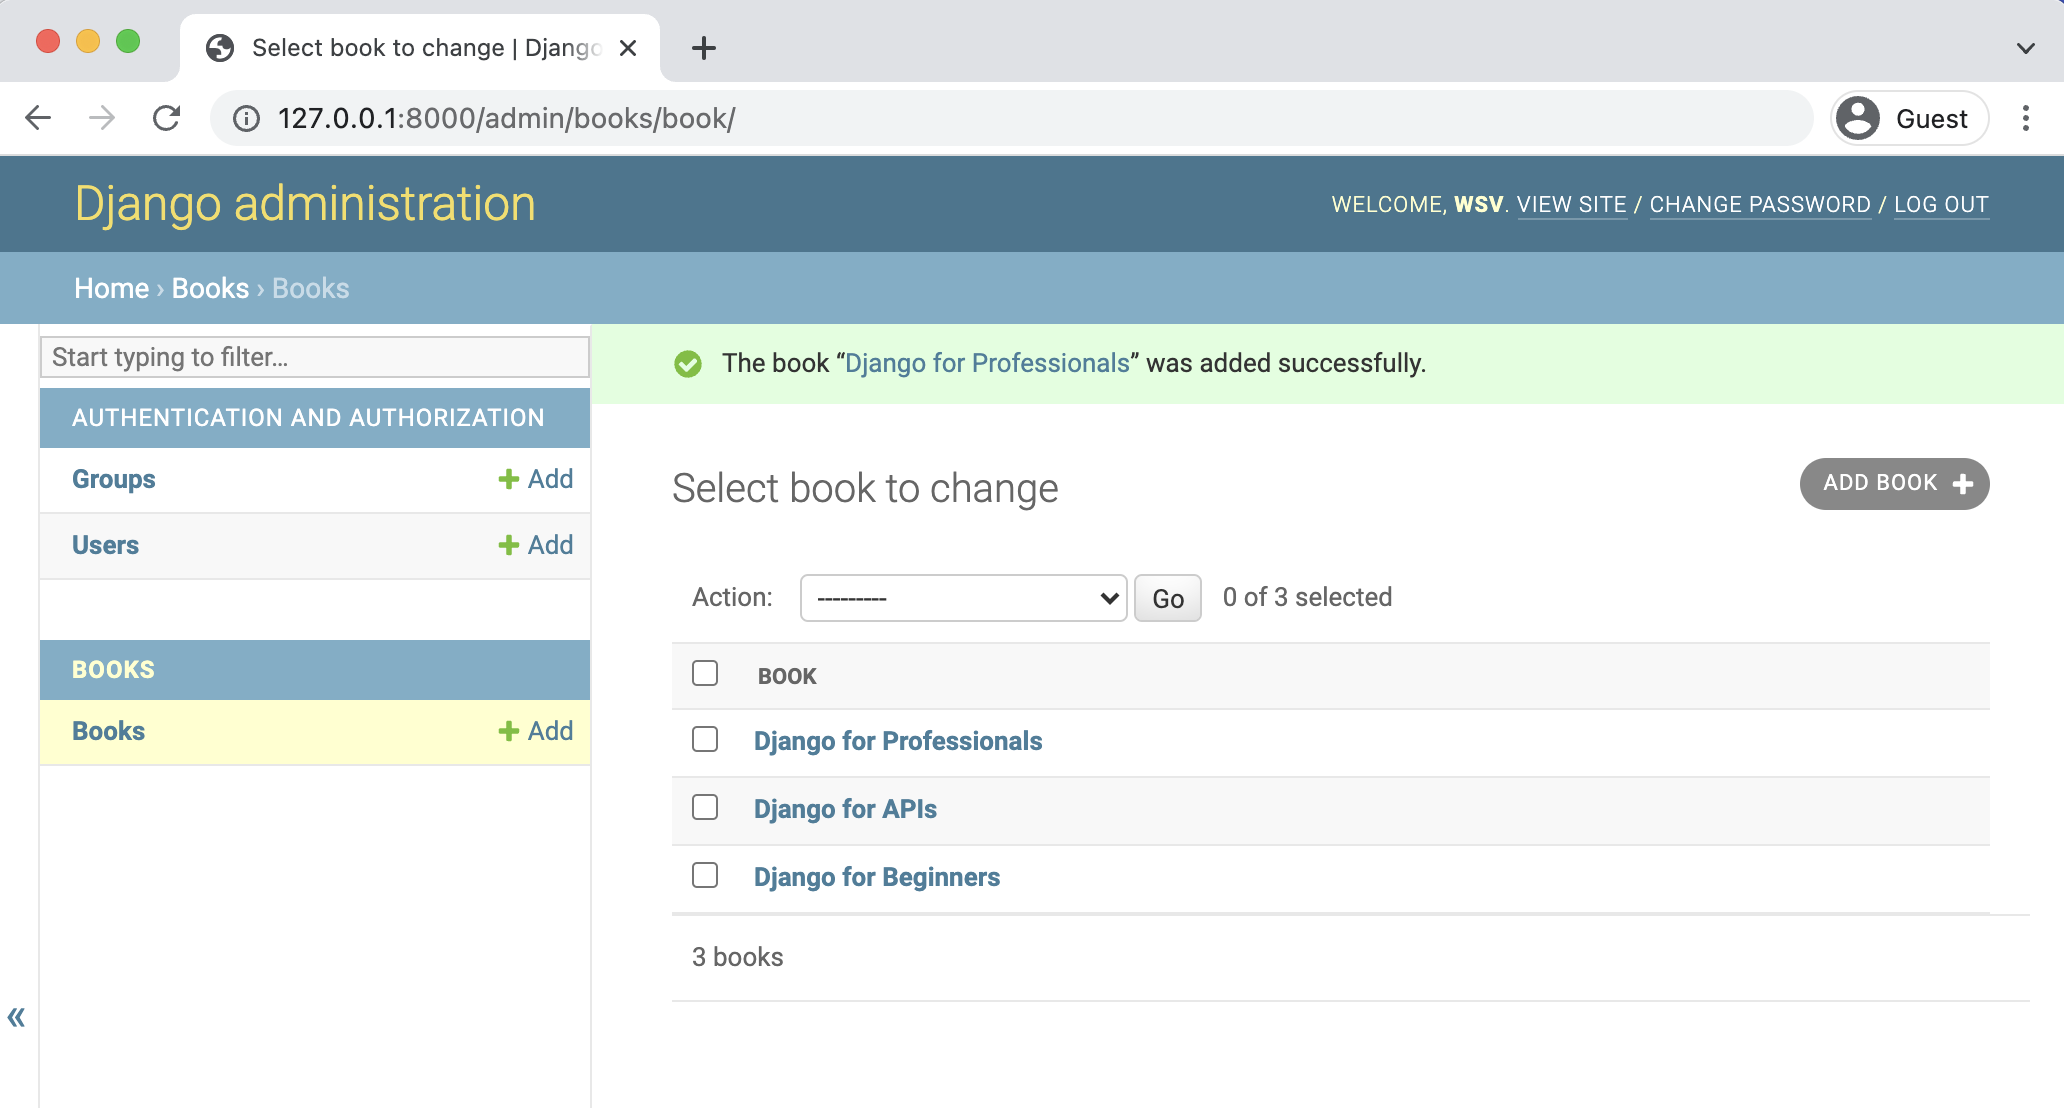
Click on the “+ Add” link next to Books.
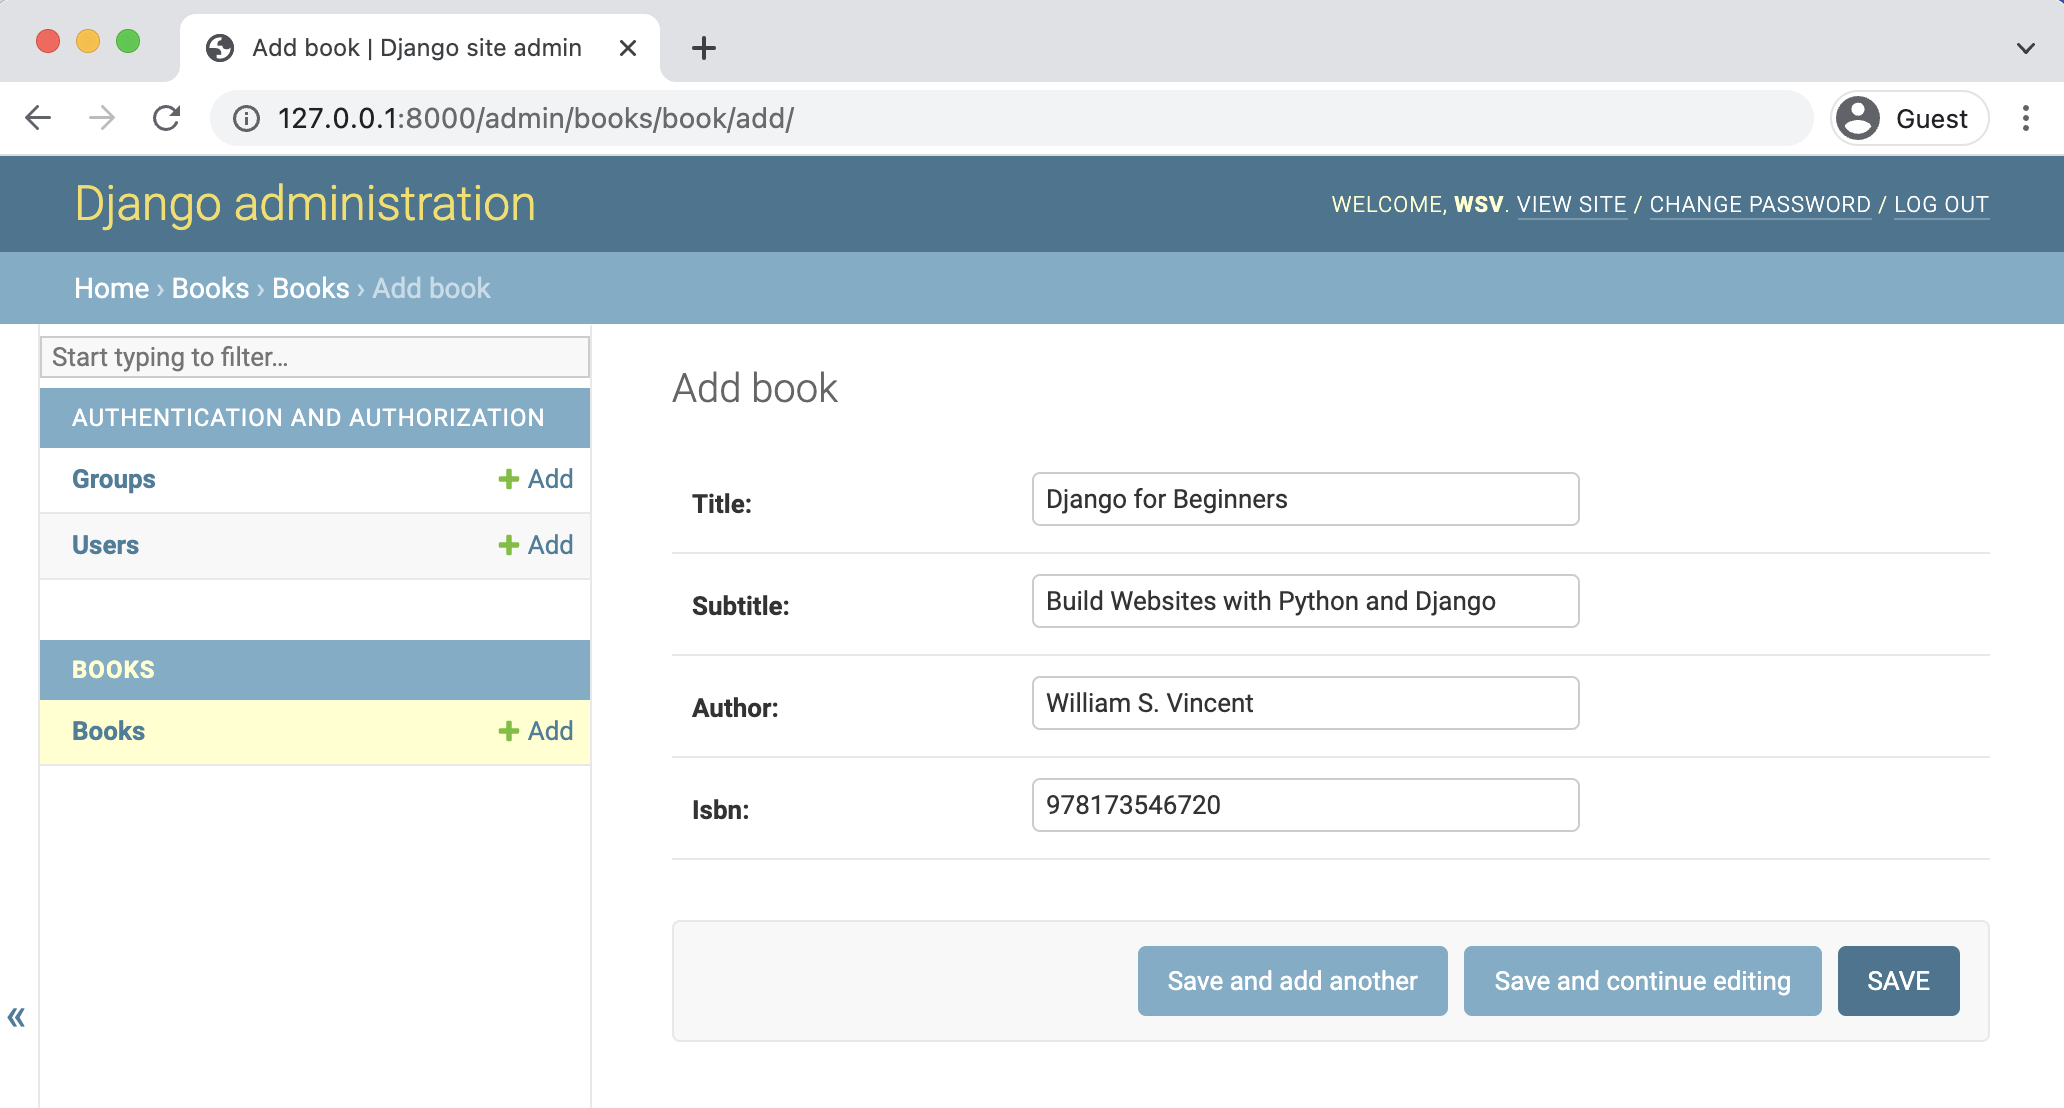
I’ve entered in the details for my three books: Django for Beginners, Django for APIs, and Django for Professionals. After clicking the “Save” button we are redirected to the “Books” page that lists all current entries.
Our traditional Django project has data now but we need a way to expose it as a web page. That means creating views, URLs, and template files. Let’s do that now.
Views
The views.py file controls how the database model content is displayed. Since we want to list all books we can use the built-in generic class ListView. Update the books/views.py file.
# books/views.py
from django.views.generic import ListView

from .models import Book


class BookListView(ListView):
    model = Book
    template_name = "book_list.html"
On the top lines we import ListView and our Book model. Then we create a BookListView class that specifies the model to use and the not-yet-created template.
Two more steps before we have a working web page: create our template and configure our URLs. Let’s start with the URLs.
URLs
We need to set up both the project-level urls.py file and then one within the books app. When a user visits our site they will initially interact with the django_project/urls.py file so let’s configure that one first. Add the include import on the second line and then a new path for the books app.
# django_project/urls.py
from django.contrib import admin
from django.urls import path, include  # new

urlpatterns = [
    path("admin/", admin.site.urls),
    path("", include("books.urls")),  # new
]
The top two lines import the built-in admin app, path for our routes, and include which will be used with our books app. We use the empty string, "", for the books app route which means a user on the homepage will be redirected directly to the books app.
Now we can configure our books/urls.py file. But, oops! Django for some reason does not include a urls.py file by default in apps so we need to create it ourself. In your text editor create a new file called books/urls.py and update it as follows:
# books/urls.py
from django.urls import path

from .views import BookListView

urlpatterns = [
    path("", BookListView.as_view(), name="home"),
]
We import our views file, configure BookListView at the empty string, "", and add a named URL, home, as a best practice.
Now when a user goes to the homepage of our website they will first hit the django_project/urls.py file, then be redirected to books/urls.py which specifies using the BookListView. In this view file, the Book model is used along with ListView to list out all books.
Templates
The final step is to create our template file that controls the layout on the actual web page. We have already specified its name as book_list.html in our view. There are two options for its location: by default the Django template loader will look for templates within our books app in the following location: books/templates/books/book_list.html. We could also create a separate, project-level templates directory instead and update our django_project/settings.py file to point there.
Which one you ultimately use in your own projects is a personal preference. We will use the default structure here.
Start by making a new templates folder within the books app and within it a books folder. This can be done from the terminal shell. If it is still running the local server use the command Control+c to stop it.
(.venv) > mkdir books/templates
(.venv) > mkdir books/templates/books
With your text editor create a new file called books/templates/books/book_list.html. It will contain the following code:
<!-- books/templates/books/book_list.html -->
<h1>All books</h1>
{% for book in book_list %}
<ul>
  <li>Title: {{ book.title }}</li>
  <li>Subtitle: {{ book.subtitle }}</li>
  <li>Author: {{ book.author }}</li>
  <li>ISBN: {{ book.isbn }}</li>
</ul>
{% endfor %}
Django ships with a template language that allows for basic logic. Here we use the for tag to loop over all available books. Template tags must be included within opening/closing brackets and parentheses. So the format is always {% for ... %} and then we must close our loop later with {% endfor %}.
What we are looping over is the object containing all available books in our model courtesy of ListView. The name of this object is <model>_list which, given our model is named book, means it is book_list. Therefore to loop over each book we write {% for book in book_list %}. And then display each field from our model.
Now we can start up the local Django server again.
(.venv) > python manage.py runserver
Navigate to the homepage at http://127.0.0.1:8000/ to see our work.
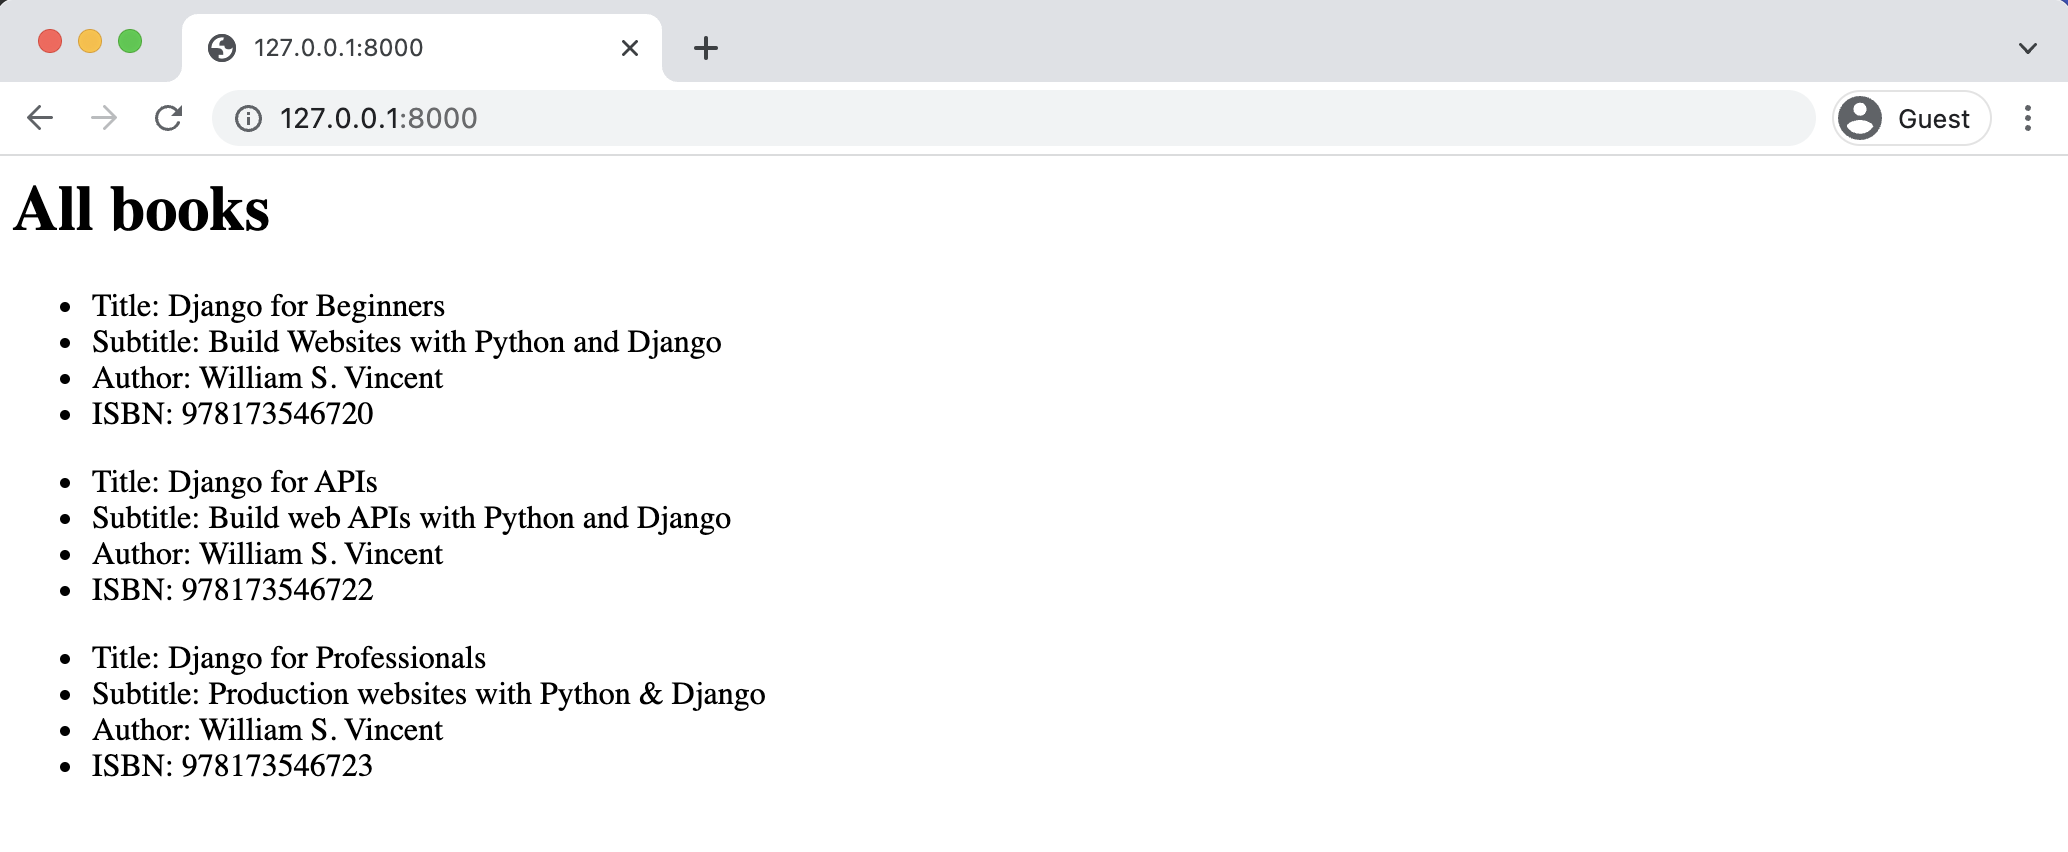
If we add additional books in the admin, they will each appear here, too.
Tests
Tests are a vital part of writing software and we should add them now before moving on to the API portion of this project. We want to be sure that the Book model works as expected as well as our view, urls, and template. Our books app already has an empty books/tests.py file that we can use for this.
# books/tests.py
from django.test import TestCase
from django.urls import reverse

from .models import Book


class BookTests(TestCase):
    @classmethod
    def setUpTestData(cls):
        cls.book = Book.objects.create(
            title="A good title",
            subtitle="An excellent subtitle",
            author="Tom Christie",
            isbn="1234567890123",
        )

    def test_book_content(self):
        self.assertEqual(self.book.title, "A good title")
        self.assertEqual(self.book.subtitle, "An excellent subtitle")
        self.assertEqual(self.book.author, "Tom Christie")
        self.assertEqual(self.book.isbn, "1234567890123")

    def test_book_listview(self):
        response = self.client.get(reverse("home"))
        self.assertEqual(response.status_code, 200)
        self.assertContains(response, "excellent subtitle")
        self.assertTemplateUsed(response, "books/book_list.html")
At the top of the file we import Django’s TestCase class, reverse so we can confirm the named URL used, and our single model Book.
Then we create a class called BookTests and fill setUpTestData with dummy information for a book. All tests must start with the name test_ in order to be run by Django so we create one to test the book’s content, test_book_content, that performs an assertEqual on each field. Next we test our listview with test_book_listview that checks the response uses the named URL "home", it returns an HTTP Status Code of 200, contains the expected text, and uses our template at books/book_list.html.
Make sure the local server is not running and then use the shell command python manage.py test to execute the tests.
(.venv) > python manage.py test
Creating test database for alias 'default'...
System check identified no issues (0 silenced).
..
----------------------------------------------------------------------
Ran 2 tests in 0.007s

OK
Destroying test database for alias 'default'...
They all pass! Great, we can move on with our project.
Git
Whenever we have added new code it is a good idea to track our progress using Git. Make sure you’ve stopped the local server with Control+c. Then run git init to initialize a new repo and git status to check its contents.
(.venv) > git init
(.venv) > git status
On branch main

No commits yet

Untracked files:
  (use "git add <file>..." to include in what will be committed)
        .venv/
        books/
        db.sqlite3
        django_project/
        manage.py

nothing added to commit but untracked files present (use "git add" to track)
At the moment, the virtual environment .venv is included which is not a best practice because it can contain secret information such as API keys that we do not want to be tracked. To fix this create a new file with your text editor called .gitignore in the project-level directory next to manage.py. A .gitignore file tells Git what to ignore. Add a single line for .venv.
.venv/
If you run git status again you will see that .venv is not longer there. It has been “ignored” by Git. We do, however, want a record of all packages installed in the virtual environment. The current best practice is to run the command pip freeze with the > operator to output the contents to a new file called requirements.txt.
(.venv) > pip freeze > requirements.txt
Let’s add all our work by using the command add -A and then commit the changes along with a message (-m) describing what has changed.
(.venv) > git add -A
(.venv) > git commit -m "initial commit"
Conclusion
This chapter has been all about setting up a traditional Django project. We went through the standard steps of creating a new project, adding a new app, and then updating models, views, urls, and templates. The admin.py file has to be updated so we can see our new content and we added tests to ensure our code works and we can add new functionality without worrying about a mistake.
In the next chapter we’ll add Django REST Framework and see how quickly a traditional Django website can be transformed into a web API.
Continue on to Chapter 4: Library API.